 How-to
How to Fix Peeling Garage Epoxy Floor: Step-by-Step Guide
Table of Contents
- Why Epoxy Garage Floors Peel and What Causes Coating Failure
- How to Assess the Damaged Area Before Repair
- Spot Repair vs. Full Removal: Making the Right Decision
- Epoxy Garage Floor Surface Preparation for Repair Success
- Step-by-Step Repair Process: From Removal to Recoat
- How Long Does Garage Floor Epoxy Take to Cure and Recoat
- How to Remove Epoxy Coating From Concrete: Full Removal Option
- Epoxy Floor Coating Not Sticking to Concrete: Prevention and Solutions
- Frequently Asked Questions
Last Updated: October 11, 2026
Why Epoxy Garage Floors Peel and What Causes Coating Failure
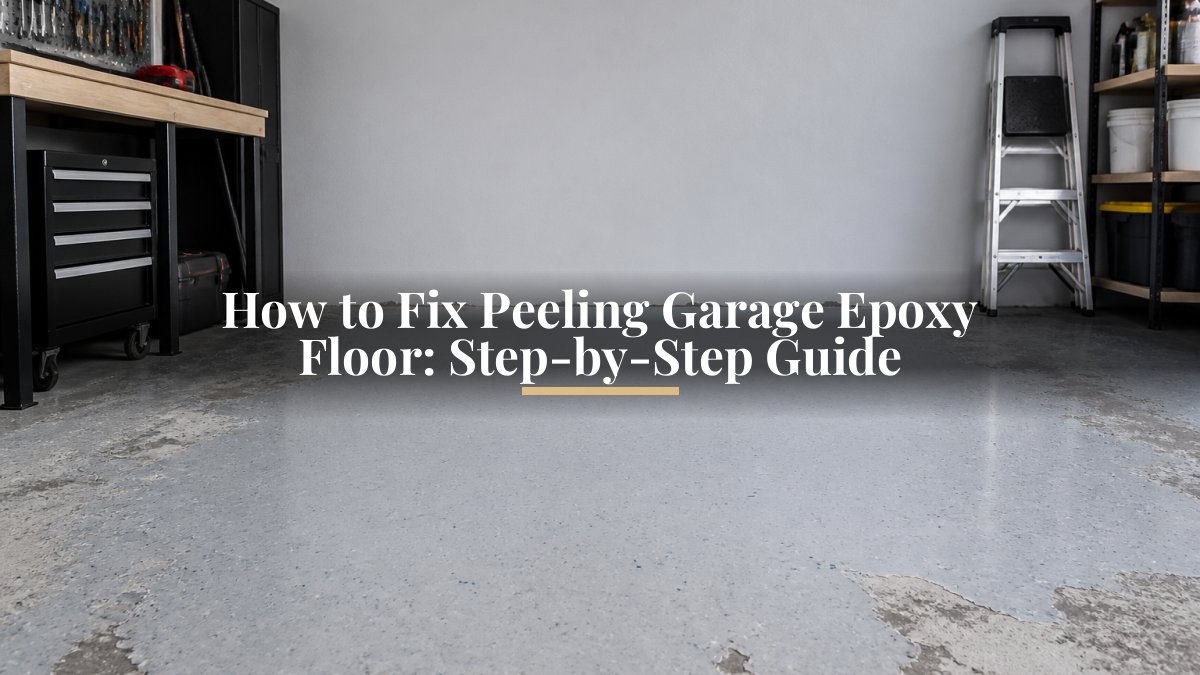
When you need to fix peeling garage epoxy, the first step is understanding that epoxy garage floors peel when the bond between the coating and concrete substrate fails. The most common culprits are moisture, contamination, and poor surface preparation. Understanding the root cause is essential to fix peeling garage epoxy properly and prevent recurrence.
Moisture and Vapor Pressure Beneath the Slab
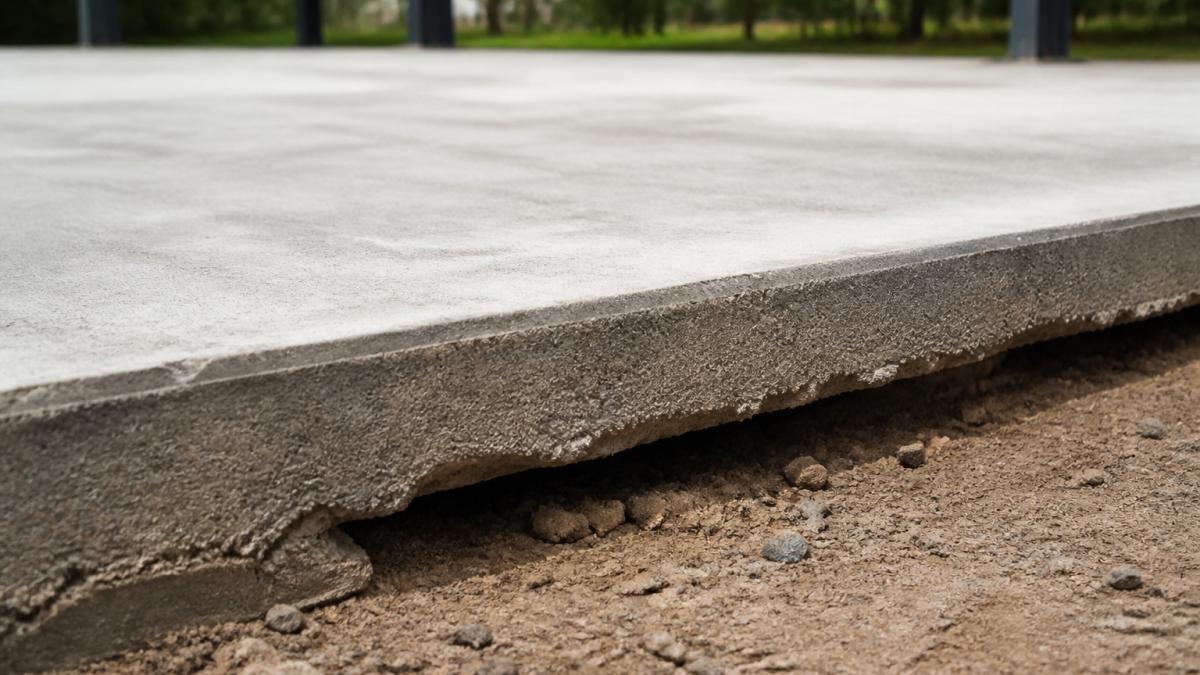
Moisture trapped under the concrete slab creates vapor pressure that pushes the epoxy coating away from the substrate. If the slab sits on soil with poor drainage, moisture rises through capillary action.
You can test for this problem using a simple moisture meter or plastic sheet test. Place a plastic sheet flat on the concrete and tape down all edges. Leave it for 24 hours.
Oil, Grease, Dirt, and Surface Contamination
Oil and grease prevent epoxy from bonding to concrete. Even small amounts of contamination can cause adhesion failure. Proper degreasing is non-negotiable, a surface that looks clean may still have a film of oil or residue that breaks the bond.
Insufficient Concrete Preparation and Poor Adhesion
The concrete surface must have a proper profile for epoxy to grip. Inadequate grinding or sanding leaves the substrate unprepared. Poor adhesion also results from applying epoxy in cold, hot, or damp conditions, or from incorrect mixing, thin application, or uneven spreading.
How to Assess the Damaged Area Before Repair
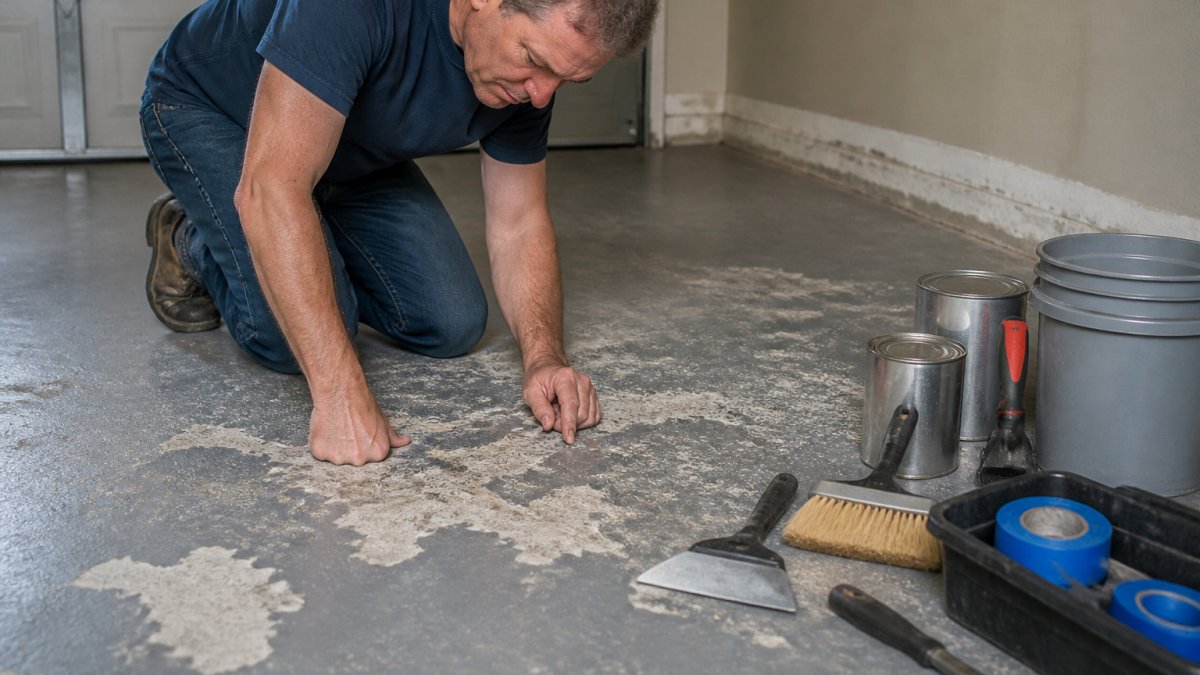
Before repairing, assess the damage carefully to determine whether spot repair or full removal is needed. Examine how much coating has failed and whether it flakes off easily or remains bonded.
Testing for Remaining Adhesion and Bond Strength
Use the adhesion test: scrape the edge of a putty knife along the boundary between failed and intact coating. If the knife digs under easily, adhesion is poor. Tap the surface with a hammer, hollow sounds indicate delamination; solid taps mean the coating is bonded. If adhesion is poor across most of the floor, full removal is better. If only edges or small sections have failed, spot repair works.
Spot Repair vs. Full Removal: Making the Right Decision
The choice between spot repair and full removal hinges on three factors: damage extent, adhesion quality of the surrounding coating, and whether moisture or vapor pressure is the root cause. A repair that ignores these criteria will likely fail within months.
When Spot Repair Makes Sense
Spot repair is viable only when all three conditions are met:
-
Damage is truly localized. Peeling should be confined to one area (less than 15-20% of the floor) with a clear boundary. If damage appears in multiple spots scattered across the floor, the underlying cause, usually moisture or poor prep, is likely widespread, and spot repair will not address it.
-
Surrounding coating is well-bonded. Use the adhesion test: scrape the edge of a putty knife along the concrete at the boundary between failed and intact coating. Push firmly. If the knife digs under the coating easily, adhesion is poor across the floor. If the coating resists and stays firmly attached, the bond is good. Tap the surface with a hammer. Hollow sounds indicate delamination; solid taps mean the coating is still bonded. If adhesion is poor in multiple areas, full removal is the only lasting solution.
-
Moisture testing shows no vapor issues. Perform a plastic sheet test: place a plastic sheet flat on the concrete and tape down all edges. Leave it for 24 hours. If condensation forms underneath, moisture vapor pressure is pushing the coating away from the slab. This problem affects the entire floor, not just the peeling spot. Spot repair will fail again within 1-2 years unless you address moisture first, which typically requires a vapor barrier or drainage improvement, making full removal and proper substrate prep the more practical choice.
When Full Removal Is Necessary
Full removal is the correct choice when any of these apply:
- Peeling is widespread or scattered. If damage appears in multiple locations or covers more than 20% of the floor, the root cause is systemic (moisture, poor prep, or incompatible coating). Spot repairs will fail as the underlying problem continues.
- Adhesion is poor in multiple areas. If the adhesion test reveals weak bonding in several spots, the entire coating is at risk. Removing everything and starting fresh prevents future failure.
- Moisture vapor pressure is the culprit. If the plastic sheet test shows condensation, moisture is rising through the slab. A new topcoat over the existing coating will fail just as quickly. Full removal allows you to install a moisture-vapor barrier or improve drainage before recoating.
- The existing coating is old or incompatible. If the original epoxy was applied more than 10 years ago or if you don't know its composition, new epoxy may not bond reliably to the old layer. Full removal eliminates this risk.
- You plan to change the coating type or color significantly. Spot repairs are visible if the new coating doesn't match the old one exactly. Full removal allows a uniform new finish.
Full removal delivers durability when moisture and prep are handled correctly.
Decision Table
| Factor | Spot Repair | Full Removal |
|---|---|---|
| Damage extent | <15-20%, single area | >20% or multiple areas |
| Surrounding adhesion | Strong, well-bonded | Weak or poor in multiple spots |
| Moisture test result | No condensation | Condensation present |
| Root cause | Surface contamination, application error | Moisture, systemic prep failure |
| Time required | 1-2 days | 3-5 days |
| Expected durability | 3-5 years | 10+ years |
| Best for | Small, isolated damage | Long-term reliability |
Epoxy Garage Floor Surface Preparation for Repair Success
Surface preparation determines whether your repair holds. It removes failed coating, contaminants, and loose material while creating the surface profile that allows new epoxy to bond.
Scraping, Grinding, and Sanding Loose Coating
Scrape away all loose and flaking coating using a putty knife or floor scraper. For larger areas, use a floor grinder with 40-60 grit diamond cup wheel, then progress to 80-120 grit for finishing. Vacuum thoroughly to remove all dust. The concrete should feel slightly rough; if it's smooth or slippery, you haven't ground enough.
Cleaning and Degreasing the Concrete Substrate
Clean the entire surface with a shop vacuum and broom. Degrease using a concrete degreaser per product instructions, scrubbing with a stiff brush, then rinse thoroughly. Allow at least 24 hours drying time before epoxy application; check with a moisture meter to confirm the slab is dry.
Step-by-Step Repair Process: From Removal to Recoat
Now that the surface is prepared, you're ready to repair and recoat.
Removing Flakes and Delamination
For spot repair, remove all loose material from the damaged area and a few inches beyond, undercutting the edges to create a clean bond line. For full removal, grind the entire floor to expose fresh substrate.
Applying Primer and Topcoat
Prime the prepared surface using an epoxy primer designed for your concrete conditions, applied in thin, even coats per manufacturer instructions. Once cured, apply the epoxy topcoat by mixing resin and hardener thoroughly and applying in thin, even layers with a roller. Most epoxy requires 2-3 coats; allow proper cure time between coats.
How Long Does Garage Floor Epoxy Take to Cure and Recoat
Cure time and recoat windows depend on temperature, humidity, product formulation, and coat thickness. Missing the recoat window or applying coats in wrong conditions is a common reason repairs fail.
Understanding Cure Stages
Epoxy goes through tack-free (4-8 hours), hard-to-touch (12-24 hours), and full cure (5-7 days) stages. Recoating must happen within a specific window, too soon and layers won't bond; too long and you'll need to sand to restore adhesion.
Temperature and Humidity Effects
Temperature is the biggest factor in cure speed. At 50-60°F, cure time doubles or triples. 70-75°F is ideal. Above 85°F, cure accelerates but may trap air bubbles. Humidity below 50% is ideal; above 85% causes uneven cure and hazy finish. In cold, damp garages, cure times extend significantly.
Recoat Windows: The Critical Timing
Most epoxy products specify a recoat window, typically same-day (4-8 hours), 24-hour, or extended (up to 7 days). If you recoat too soon, layers won't bond. If you wait too long, the surface becomes too hard for the next coat to grip. If you miss the window, light sanding (120-150 grit) can restore adhesion.
Product-Specific Guidance
Always consult the product data sheet for exact cure and recoat times. Do not assume all epoxy products cure at the same rate, a fast-curing epoxy may be ready for recoat in 8 hours, while a standard product requires 24 hours. Using the wrong timing is a common cause of adhesion failure.
Planning Your Repair Timeline
For a spot repair, total elapsed time from start to full cure depends on temperature and humidity. In cooler or more humid conditions, cure times extend significantly.
Avoiding Cure-Related Failures
Avoid rushing, applying the next coat too soon is a leading cause of peeling repairs. Check the product data sheet for exact times. Monitor temperature and humidity; if conditions fall outside the recommended range, delay application. Don't allow traffic until full cure. If you miss the recoat window, sand before recoating.
How to Remove Epoxy Coating From Concrete: Full Removal Option
Full removal means stripping all epoxy down to bare concrete.
Grinding is the most effective method. Use a concrete grinder with a diamond cup wheel to remove the coating.
The process creates significant dust. Wear a respirator and use a dust containment system. Ventilate the space well.
Scraping works for small areas but is labor-intensive for large floors.
After grinding, follow the cleaning and degreasing steps described above.
Epoxy Floor Coating Not Sticking to Concrete: Prevention and Solutions
Poor adhesion is the root cause of peeling.
Moisture control is essential.
Surface preparation cannot be rushed. Grind and clean thoroughly. Remove all contaminants.
Application conditions matter.
Use quality materials. Premium epoxy products bond better and last longer than budget options.
Primer improves adhesion. Always use a primer on bare concrete.
When epoxy doesn't stick, the most common cause is inadequate surface preparation or moisture.
Peeling epoxy floors are frustrating, but they're fixable.
If you're dealing with widespread damage, moisture issues, or adhesion problems, professional repair is worth considering.
Frequently Asked Questions
Why is my garage epoxy floor peeling?
Epoxy coating peels when it loses adhesion to the concrete substrate. Common causes include moisture or vapor pressure beneath the slab, inadequate surface preparation before the original application, oil or grease contamination on the concrete, and poor epoxy application technique. If the concrete wasn't properly ground or sanded, or if a primer wasn't used, the epoxy bond fails over time, causing flaking and delamination. Testing the concrete for moisture vapor transmission before repair helps prevent recurrence.
Can you repair peeling epoxy on a garage floor, or do you have to remove all of it?
You don't always need full removal. Spot repair works when peeling is localized to small areas and the surrounding epoxy is firmly bonded. For widespread peeling or delamination, full removal is more effective. Assess the damaged area by scraping and testing adhesion. Spot repair involves scraping away loose coating, sanding the exposed concrete, cleaning and degreasing, and applying primer and topcoat to the repaired zone.
How long does garage floor epoxy take to cure before I can drive on it?
Most epoxy coatings cure to light foot traffic in 24 hours, but full cure for vehicle traffic typically takes 5-7 days, depending on temperature and humidity. During the first 48 hours, keep the garage closed and avoid moisture exposure. Check the product specifications, as cure times vary. Driving on epoxy before full cure can cause soft spots and adhesion failure. Temperature and humidity affect cure speed; cooler, more humid conditions slow curing significantly.
What's the best way to prepare a concrete garage floor before applying epoxy?
Proper surface preparation is critical for epoxy adhesion. Start by removing all loose coating, oil, grease, and dirt using a degreaser. Grind or sand the concrete to create a rough surface profile that helps epoxy bond. Sweep and vacuum thoroughly, then wipe with a damp cloth to remove dust. Allow the floor to dry completely. Test for moisture vapor transmission; if levels are high, apply a moisture-vapor barrier before epoxy. A clean, dry, roughened surface with proper primer application prevents peeling and ensures long-term durability.